
Personalize the widget
Make your widget fit in with like your brand and set up the languages you want to support.
Languages
Expand your assistant’s language capabilities by adding more languages and configuring the text with your widget. Choose a default language by selecting the star-icon. This will be the language in which your Assistant starts talking whenever we can’t detect the language’s website. There can and must be only one default language.
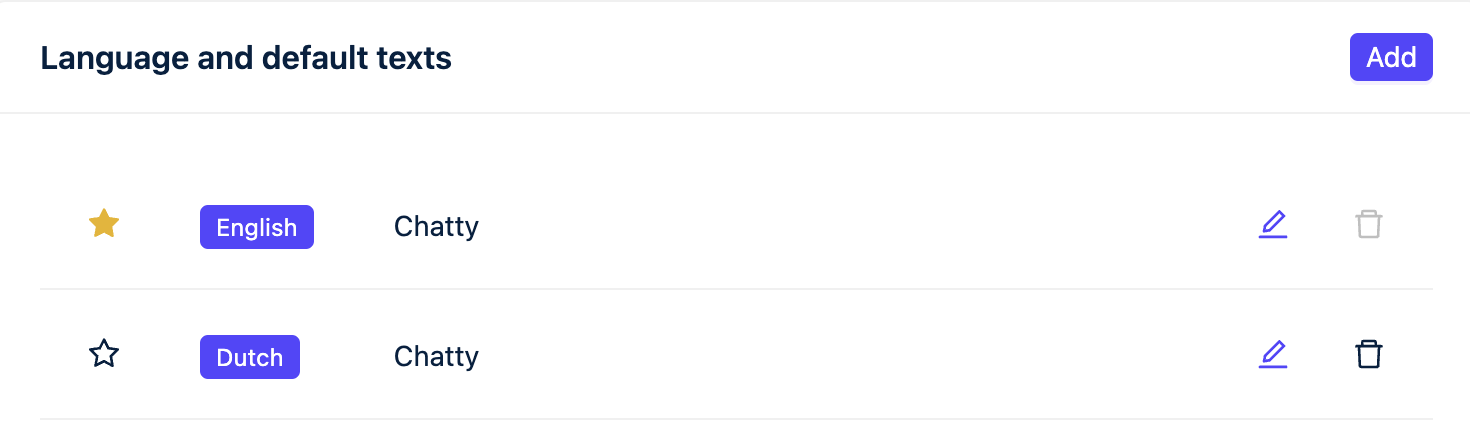
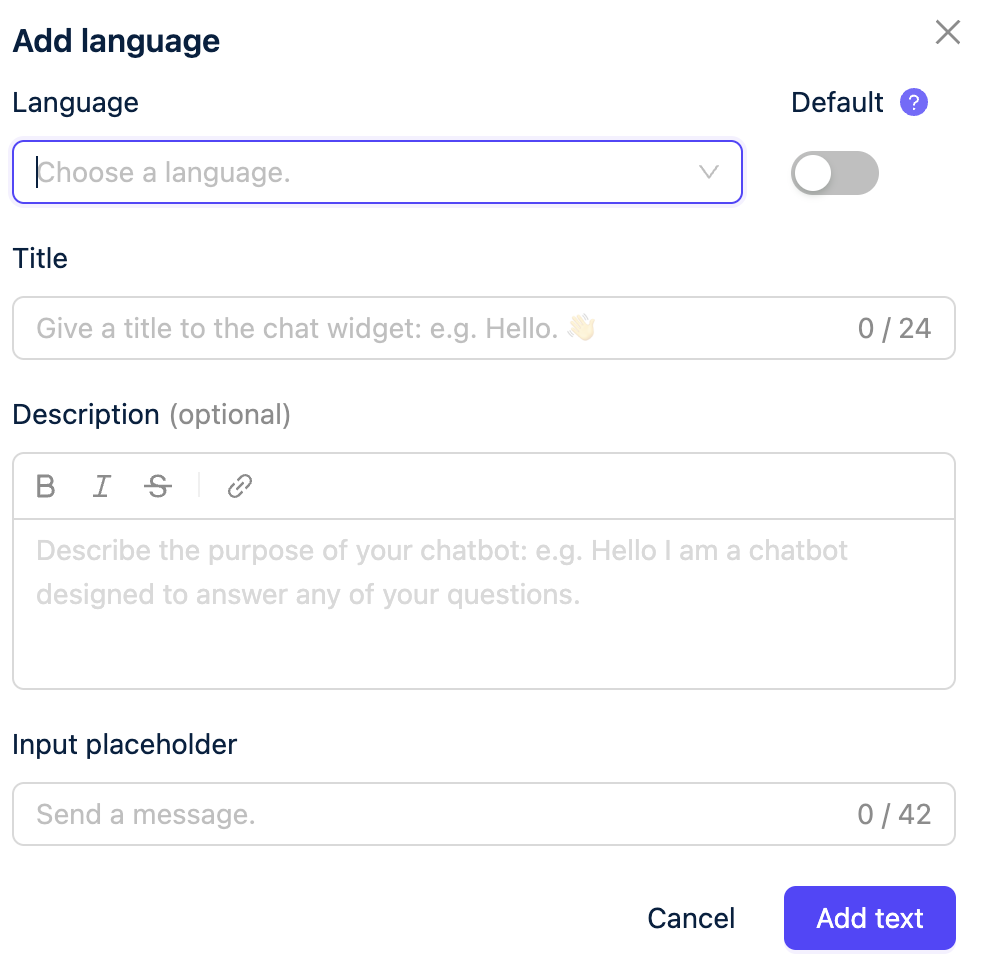
Add a new language: Expand the reach of your widget by adding a new language. With this feature, you can easily configure the text within your widget to accommodate users who speak different languages.
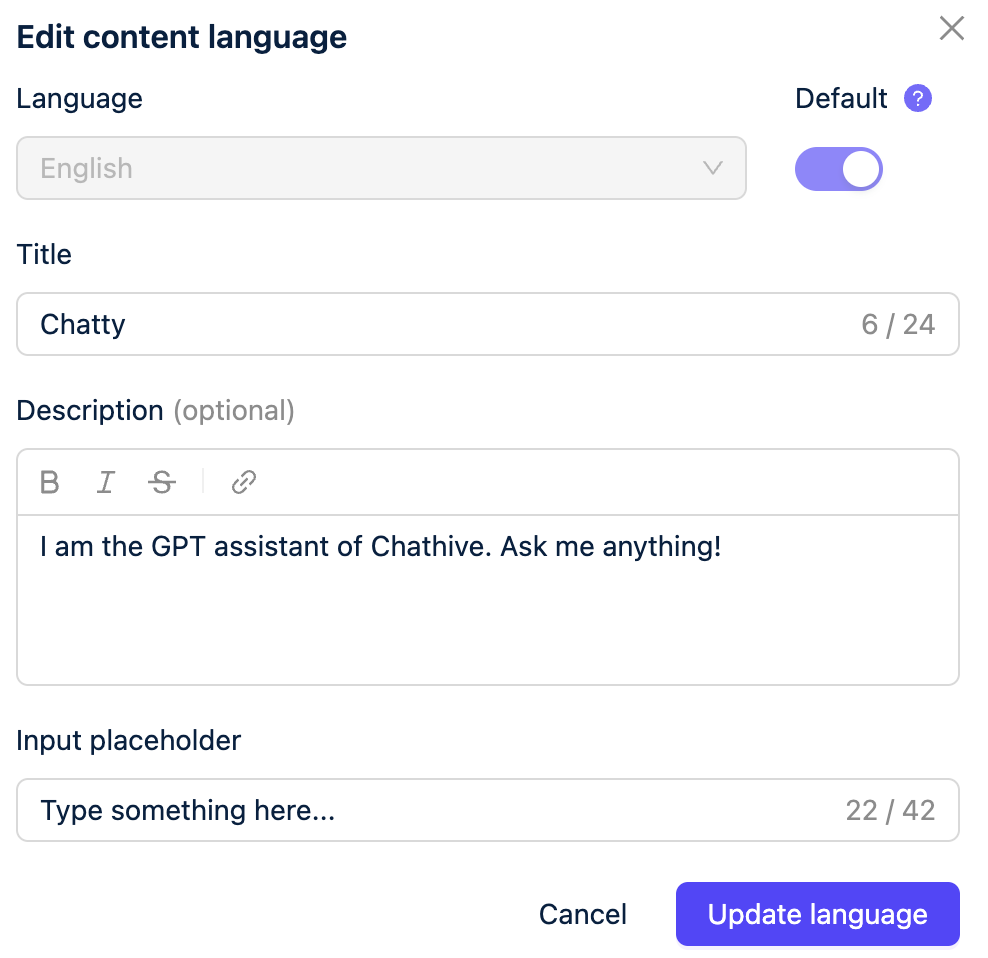
Edit a language: By clicking on the pencil icon next to the language, you gain the ability to edit the text within your widget for that specific language. This intuitive feature allows you to customize the language settings of your widget with ease.
Add language modal: Here you can add a new language to your widget. This will allow you to configure the text within your widget
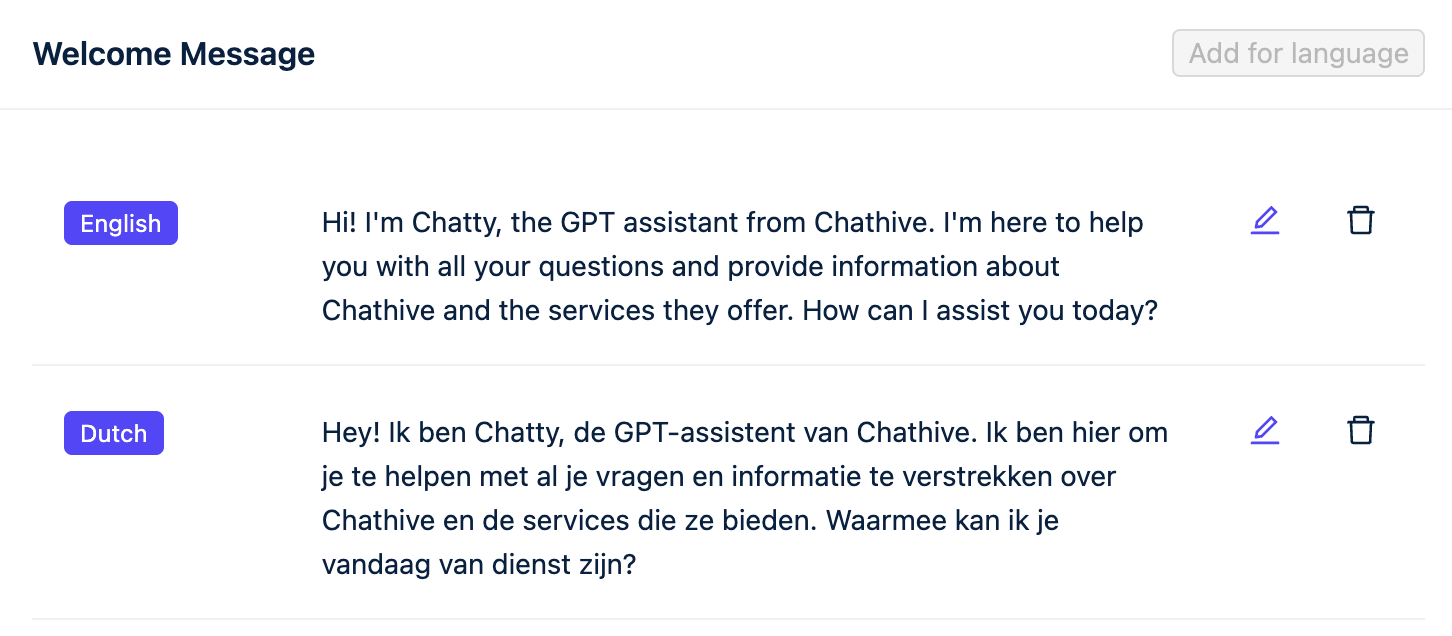
Welcome your user: Create a warm and inviting atmosphere for your website visitors by greeting them with a personalized welcome message. Encourage them to engage with your assistant, guiding them towards a seamless and interactive experience.
Message suggestions: Provide helpful suggestions to guide your users as they get started. You can tailor message suggestions for each supported language, ensuring that users feel welcomed and empowered to interact with your assistant. These suggestions serve as friendly prompts, nudging users in the right direction and encouraging them to explore the capabilities of your assistant.
Add Message suggestions for language: Here, you have the opportunity to add one or more message suggestions that will greet your website visitors when they open the assistant.

Branding
Customize your widget to perfectly match your brand's identity. In the 'Tab Branding' section, you have full control over the widget's appearance. Choose your brand's colors for the font and background, or add your own CSS code to personalize every aspect, from fonts to backgrounds and beyond.
Additionally, you can make use of the preview feature to test your assistant and gather feedback from colleagues before going live. This allows you to ensure that your assistant not only looks the part but also functions seamlessly, providing a polished and professional user experience that aligns perfectly with your brand.
Advanced
In the 'Advanced' tab, take your marketing tracking to the next level by adding UTM tags. These tags allow you to effectively monitor and analyze the performance of your marketing efforts by providing detailed insights into user engagement and conversion metrics.
Feedback module?
In the 'Advanced' settings, you have the ability to fine-tune various aspects of your widget's functionality. One key feature is the option to set a character limit for customer messages, allowing you to control the length of interactions and ensure a smooth user experience.
Additionally, you can use the toggle switch to hide the widget entirely. When activated, the widget becomes invisible to your users and even in preview mode. This feature provides flexibility in managing the visibility of the widget based on your specific needs, whether you're conducting maintenance, running tests, or simply want to temporarily hide the widget from view.